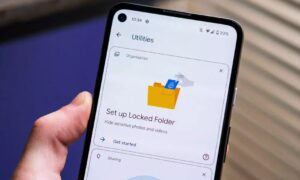
To help users keep private photographs apart from public ones, Google photographs now features a Locked Folder that can be protected with a PIN. This was a fantastic addition that provided much-needed anonymity for users.
In the past, users weren’t able to back up the photographs and videos they kept in the Locked folder in Google photographs because it wasn’t a part of the backup option.
But with this new announcement, Google has changed all of that. The decision to include a Locked folder in the backup was made optional going forward. The functionality makes it possible to view images in a user’s Locked folder on iOS and web devices. Here is a detailed explanation on how to activate Locked Folder backup:
How to activate Google locked photo backup folders
- To access Google Photos on your Android device, launch the app.
- Launch your Google Account by logging in.
- To edit your profile, tap your initials or image in the upper right.
- Select the Locked Folder option on the left.
- Select “Enable Locked Folder” to secure the folder.
- When requested, lock your screen.
- Locked folder backup can be activated by toggling the corresponding switch.
After setting up Locked Folder and enabling the backup option, you’ll want to enable web and iOS access. After turning it on, access Google Photos from any other gadget. To view the photographs and movies that are locked away in the Locked Folder, navigate to that location and enter your passcode.
To read our article about “How to do Whatsapp group video calls on MacBook” click here.