
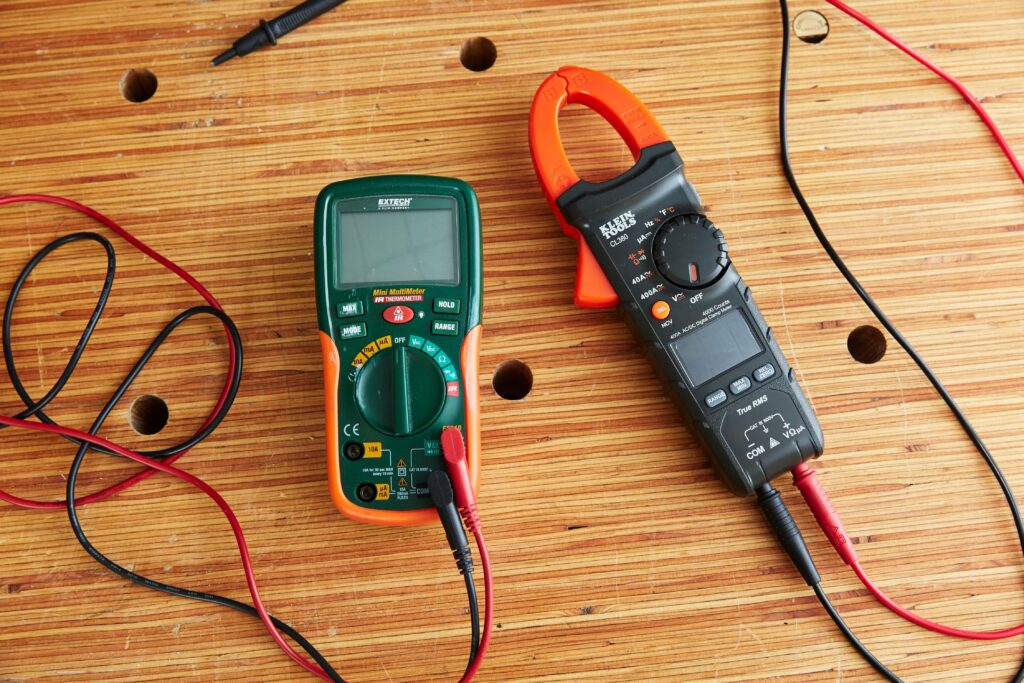
A digital multimeter is an extremely useful tool for quickly measuring voltage, resistance, continuity, and current in a variety of electrical circuits.
Once you understand what the various symbols on the dial mean, using a digital multimeter is a breeze. You’ll soon be using your digital multimeter to test all kinds of electronics!
- Voltage Measurement
Connect the COM and V terminals with the test leads. Always connect the black test lead to the terminal labelled “”COM” stands for “Common.”
” Always connect the red test led to the “V” terminal for “Voltage, “because this is what you’re putting to the test In this configuration, the test leads are used to measure both AC and DC voltage.
- Adjust the dial to the AC or DC voltage setting
If you’re measuring AC voltage, set the dial to V, or V with a wave sign next to it. To measure DC voltage, change the dial to V or V with a horizontal line next to it.
- Set the voltage range to a higher voltage than usual
You won’t get an accurate reading if you set the voltage range too low. Examine the numbers on the dial and select the setting that is closest to the expected voltage of what you’re measuring while remaining above it.
- Connect both probes to a load or power source
Place the tip of the black probe, for example, on the negative lead of a battery or the right side of a wall socket. Place the red probe, for example, on the positive end of a battery or the positive side of a wall socket.
- The voltage should be displayed on the multimeter’s screen
When you connect your probes to the positive and negative leads, the multimeter will display the voltage of what you’re testing. Examine the digital screen for the reading and make a note of it if desired.
To read our blog on “How to push yourself out of your comfort zone,” click here