
Unplug the computer before opening the case to avoid an electrical shock hazard. A PC and its components have sharp edges, so use caution.
To avoid damaging your PC, always wear a static electricity discharge strap and attach the lead to the metal frame of the case when working with its components. It’s worth noting that opening the case may void your PC’s warranty.
If the manufacturer’s instructions differ from ours, always follow them.
Instructions/guide for it:
- Unplug the computer.
- Start the investigation.
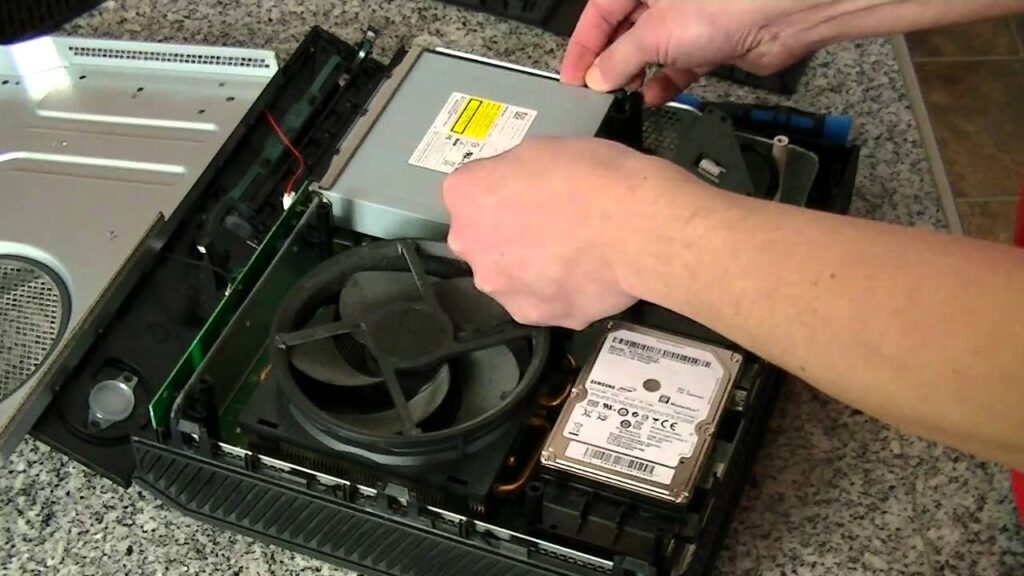
- Disconnect the controller cable, power connector, and audio connection when replacing a CD-ROM (if present). Remove it and the retaining screws.
- If this will be the first or only on a controller, set the jumper to “Master” or “MA.” Set the jumper to “Slave” or “SL” if it will be the controller’s second drive.
- Insert the new drive into the bay that previously held the old ones, or choose a bay with a suitable corresponding opening in the case front. Check that it is upright (the button should be under the drawer).
- Use the provided screws or rail inserts to secure the place.
- Connect the drive and the motherboard via the controller cable (the second IDE controller is preferable).
- Check that the cable’s pin #1 corresponds to it and motherboard’s pin #1. If you have a choice between two connectors, use the one at the end.
- Connect the power supply.
- Connect the audio wire (if using) to the drive as well as the sound card or motherboard.
- Finish the case.
- Connect the computer.
To read our blog on “Tesla’s in-house supercomputer is impressive,” click here